Fairy Lightbox: A Practical Guide to Layered Paper Art
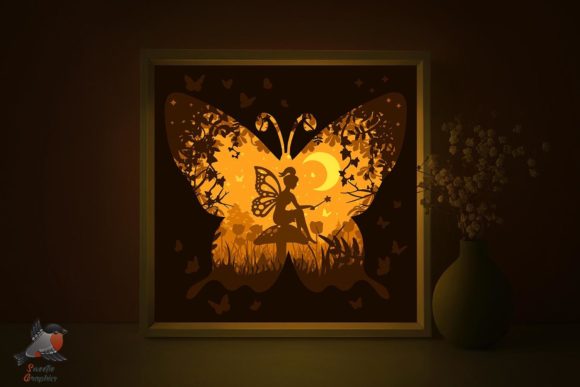
Transforming a flat digital file into a glowing, three-dimensional sculpture requires more than just cutting paper; it demands an understanding of light, depth, and material interaction. The Fairy Lightbox project represents a perfect intersection of traditional papercraft and modern digital fabrication. Unlike standard shadow boxes that rely solely on ambient light, this design integrates RGB LED technology to create an immersive atmosphere. For creators, educators, and small business owners, this project serves as both a standalone art piece and a versatile template for exploring layered design principles.
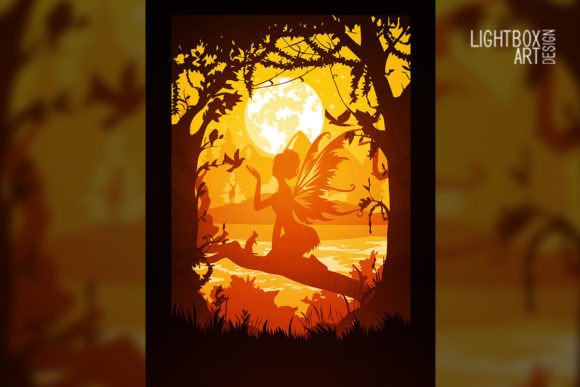
The appeal lies in the precision of the digital template combined with the tactile satisfaction of physical assembly. When executed correctly, the seven distinct layers create a sense of parallax and volume that flat prints cannot achieve. This guide explores how to leverage the included digital assets to produce professional-grade results, adapt the design for various audiences, and maintain technical consistency throughout the build process.
Understanding the Digital Asset Ecosystem
Before making a single cut, it is essential to understand the versatility of the provided files. The digital package is not merely a collection of images but a comprehensive production kit. The inclusion of multiple formats ensures compatibility across different workflows and skill levels.
- SVG and DXF Files: These vector-based formats are critical for users with electronic cutting machines like Cricut or Silhouette, as well as those using laser cutters. They allow for precise scaling without pixelation, ensuring that intricate fairy details remain crisp at any size.
- AI and CDR Files: Designed for professional designers using Adobe Illustrator or CorelDRAW, these source files allow for deep customization. You can modify line weights, adjust layer spacing, or integrate custom typography before production.
- PDF and JPG Files: These serve as visual references and printable guides. The PDF is particularly useful for manual cutting or for verifying layer alignment during assembly.
- Tutorial Instruction.txt: Often overlooked, this text file contains specific assembly logic and troubleshooting tips unique to this template. Reading this first prevents common structural errors.
Organizing these files immediately upon download establishes a professional workflow. Create a dedicated project folder with subdirectories for "Source," "Production," and "Reference." This organization saves time when you need to revisit the AI file for modifications or reference the TXT file during the final assembly phase.
Material Selection and Technical Specifications
The success of a Fairy Lightbox depends heavily on material choice. The template specifies seven layers, each sized at 8×11 inches (21×29 cm). This standard dimension is intentional, allowing for efficient use of standard cardstock and foam board sheets.
Paper weight is the most critical variable. The recommended range of 200–250 gsm provides the necessary rigidity to hold shape while remaining thin enough to transmit backlighting effectively. Paper lighter than 200 gsm may warp under the heat of LEDs or fail to support the upper layers. Conversely, cardstock heavier than 250 gsm can block too much light, resulting in a dim final product where only the top layer is visible. Always test a single layer with your specific LED strip before committing to the full build.
Foam board acts as the structural skeleton. It creates the negative space between paper layers, which is essential for the 3D effect. Use acid-free foam board to prevent yellowing over time. For the shadow box frame itself, you have two primary options: wood or foam. Wood offers durability and a premium finish suitable for retail products or permanent installations. Foam core frames are lightweight and cost-effective, making them ideal for prototypes, temporary displays, or educational workshops where budget is a constraint.
Creative Adaptations and Audience Applications
While the base design features a fairy theme, the underlying structure is a universal platform for storytelling. Different user groups can adapt this template to meet specific goals without reinventing the engineering from scratch.
For Educators and Workshop Leaders
This project is an excellent tool for teaching spatial reasoning and digital fabrication. In a classroom setting, focus on the relationship between 2D vectors and 3D forms. Students can learn how negative space defines positive form. To make this accessible for younger audiences or shorter sessions, simplify the design by reducing the layers from seven to four. Use the JPG files as coloring templates before cutting, combining traditional art skills with digital assembly.
For Small Business Owners and Marketers
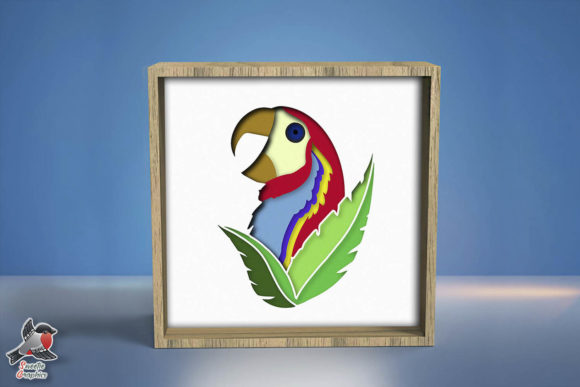
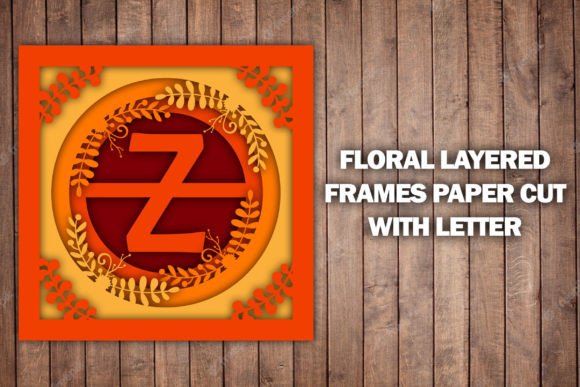
Custom lightboxes serve as high-impact point-of-sale displays or branded gifts. Using the AI or CDR files, replace the generic fairy elements with brand mascots, product silhouettes, or campaign slogans. The RGB LED strip allows you to match brand colors precisely. For example, a spa could use soft greens and blues to promote relaxation, while a tech company might use cool whites and cyans. Ensure the final product is photographed in a low-light environment to capture the glow accurately for social media marketing.
For Hobbyists and Interior Designers
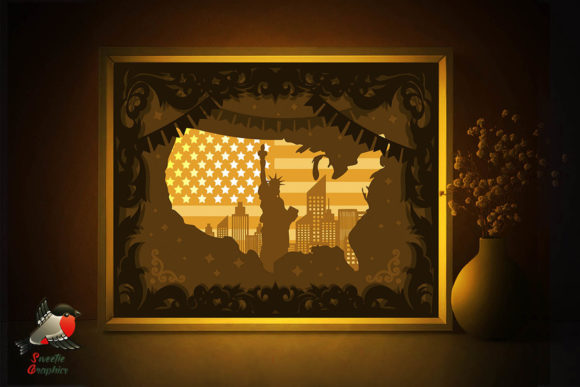
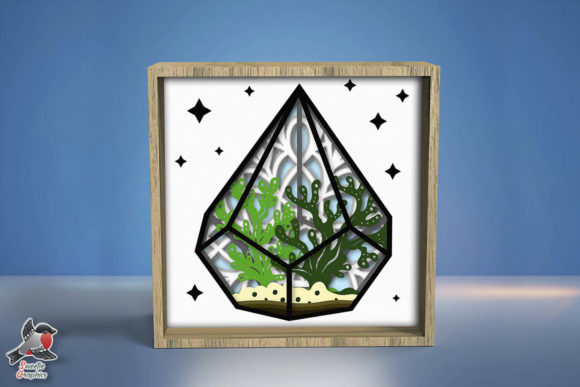
Beyond the default aesthetic, consider seasonal or thematic variations. The layered structure works exceptionally well for forest scenes, architectural landmarks, or abstract geometric patterns. Experiment with colored paper instead of white cardstock to create color mixing effects when backlit. Placing a warm yellow gel over the LED strip can simulate candlelight for vintage aesthetics, while diffusion paper placed behind the front layer can soften harsh shadows for a dreamlike quality.
Assembly Best Practices for Professional Results
Achieving a clean, gallery-ready finish requires attention to detail during assembly. Rushing this stage often leads to misaligned layers or visible adhesive marks that detract from the illuminated effect.
- Dry Fit First: Never apply adhesive until you have stacked all seven layers dry. Check for registration issues and ensure the foam spacers are uniform. This step identifies cutting errors before they become permanent.
- Adhesive Selection: Avoid liquid glues that cause paper to buckle. Double-sided tape strips or foam tape dots provide instant hold and add minimal thickness. If using spray adhesive, apply it sparingly and evenly to avoid overspray on visible surfaces.
- LED Integration: Install the RGB LED strip before sealing the back panel. Route the power cable through a discreet hole in the bottom or side of the frame. Test the lighting temperature and brightness at this stage. Diffuse the LEDs if individual diode hotspots are visible through the paper.
- Layer Spacing Consistency: Use pre-cut foam board strips as spacers rather than estimating gaps. Consistent spacing ensures even illumination across the entire 8×11 inch area. Uneven gaps create dark spots or overly bright zones that disrupt the visual narrative.
Maintaining Quality and Originality
In a market saturated with DIY crafts, distinction comes from execution and thoughtful adaptation. While the template provides the foundation, your creative input determines the value. Avoid simply replicating the sample images. Instead, treat the provided files as a starting point for iteration.
Document your process. For content creators and bloggers, sharing the "behind-the-scenes" challenges—such as selecting the right paper grain direction or troubleshooting LED wiring—provides genuine value to your audience. This transparency builds trust and demonstrates expertise (E-E-A-T) far better than a polished final photo alone.
Finally, respect the intellectual property of the template. If selling finished pieces, ensure your license permits commercial use. If modifying the design significantly, credit the original template creator while highlighting your unique contributions. This ethical approach fosters a supportive creative community and ensures sustainable practices for digital artists and makers alike.
The Fairy Lightbox is more than a decorative object; it is a lesson in precision, light management, and creative problem-solving. Whether used as a teaching aid, a branded asset, or a personal artistic exploration, mastering this format opens doors to broader applications in paper engineering and illuminated art. By respecting the materials, understanding the digital tools, and adapting the concept to your specific context, you transform a simple ZIP file into a meaningful, tangible experience.